WORK IN PROGRESS: Editing program is giving me a tough time

. Also playing video game

Ganna add discription for certain attacks after all videos are up.
Finished most of this post. Last thing that needs to be added are Enrage stage, Spirit Move Set.
EDIT: completed most of the explanation portion, open for any aditional tip that i may have missed.
Here Dragon's guide
link
Crit cap is 155, and his defense is 18.5k, making our ATT Cap on him 28.5k.
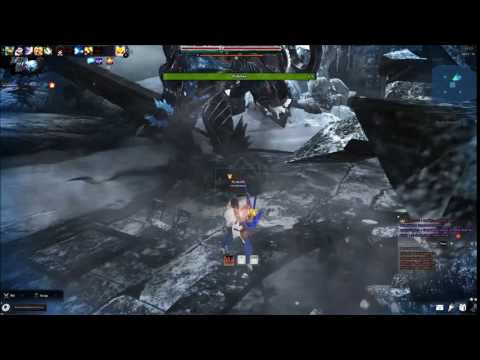
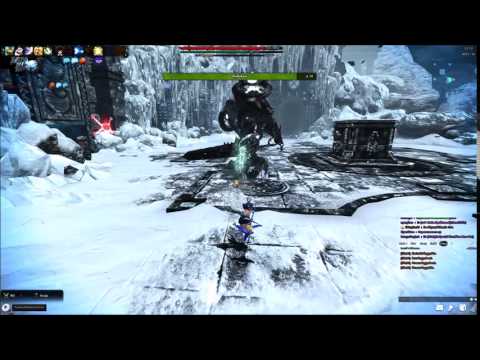
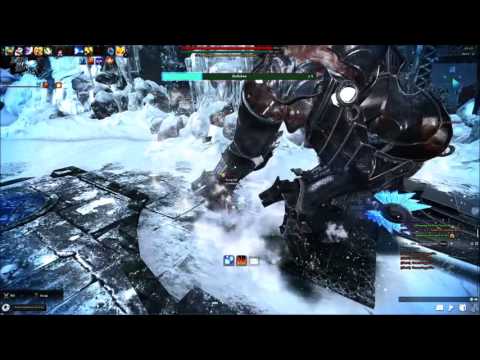
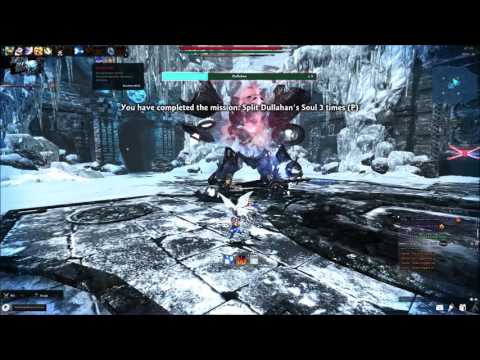
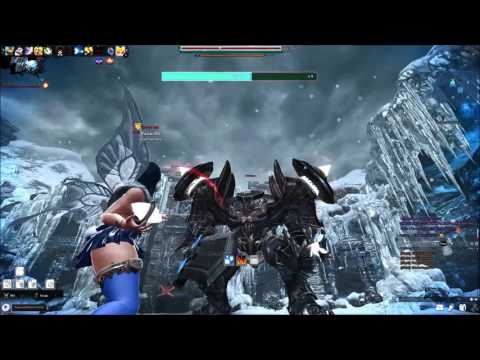
Dullanhan has a good amount of attacks that requires you to perfect guard, this guide is to help people know which attack requires perfect guard and also show case all his attacks and explain his mechanic (for more detail look at dragon post).
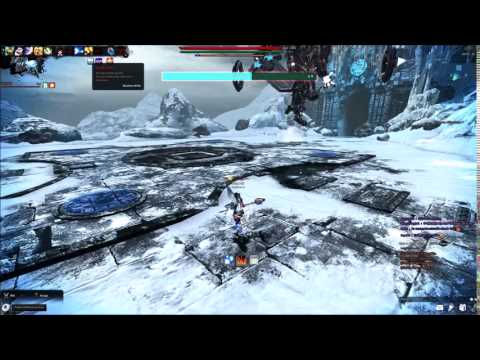
Intro
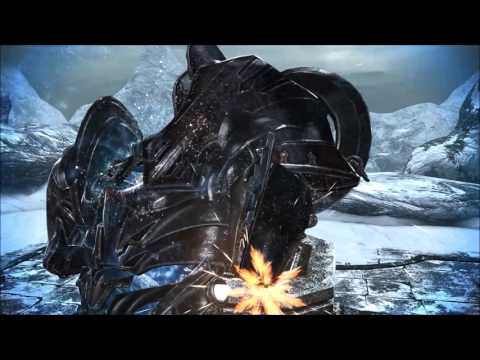
Transition Animation
Entering 9 Bars Animation
Shield Animation
Regular (Non Perfect Guard attacks)
Old name in Circle Bracket. New name suggested by Puppyman.
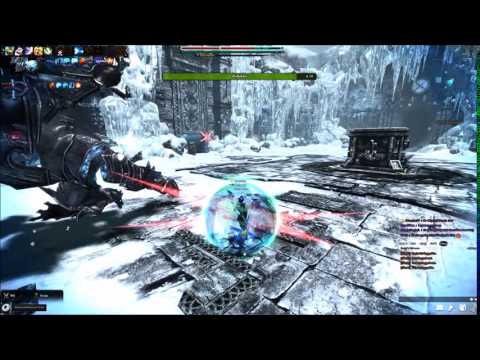
For these first two attack, you will notice that his hip spins 360 before the attack is launched, these two attack uses this tell. This is a similar theme for most of Dullahan attack, you can tell which move it is trying to do via looking at its hip, legs, feet.
Gigablade Singel-Hit (Regular Quick One Hit Spin Attack)
Gigablade Two-Hit Combo (Regular Two Hit Attack)
For this attack, in particular, he uses two tells. The first tell which is him going to a somewhat neutral position where he lifts his sword up in an upward position like he is posing, and the 360 hip spin. Attack with the first tell are his slowest attack combos. Attack with this tell are great for fitting in one or two more attack in (Depending on attack speed) before perparing for block/dodge.
GigaBlade Single Hit and Two-Hit combo uses 360 hip spin move as a tell.
GigaBlade Three-Hit Combo (Regular Three Hit Combo)
The first hit is 360 denial attack while the last two give opening for attack behind him (Useful for group play).
Gigablade Two-Hit and Three-Hit combo uses the neutral position pose as a tell.
Attack that doesn't use either of the two previously shown tells. These attack uses the upper body and arm to telegraph the attacks.
Lastly when he move his arm out while hovering, that motion can hit player that are mid range from it.
Back Swipe
You can either look for when he raising his arm or look for him swiping his feet.
Two Hit Spear Lann Spin Attack
He'll do a somewhat long wind up for a spin as the tell.
Hover Mode Swipe (Quick Upper Cut Attack (I think of it as a Follow up Attack))
There's two tell for this attack, the one shown in this video uselly follows Spear Lann Spin Attack or GigaBlade Single-Hit. He'll quickly put his weapon behind him and do an uppercut. For this version he can jsut randomly do it on it own but not very common.
For tell two, this is usually followed by GigaBlade Two-Hit and Three-Hit combo. He'll do the put sword in upper position pose before going into the upper cut attack.
This happens solo btween bar 10 and 9. Once he gets to bar 9 it'll only happen after one of the two previously stated method. Once bar 9 hit, the solo version becomes a perfect guard attack (Enhanced Hover Mode Swipe)
Follow up Attack Examples (No need to check these)
Regular Two Hit Attack With Follow Up Attack Slow Version

Regular Two Hit Attack With Follow Up Attack Fast Version
Regular Three Hit Combo With Follow Up
Regular Two Hit Attack With Follow Up Attack Version 2
Perfect Guard Attacks
Perfect Guard Attack begin to happen during bar 9 trasistion.
Enhanced Hover Mode Swipe (Perfect Guard Upper Cut into Ground Attack into Chop)
Same tell as the none enhanced version with similar Air Cryo-gen Laser Spin attack into a Lunge.
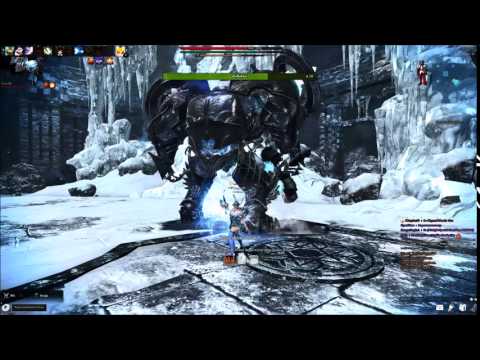
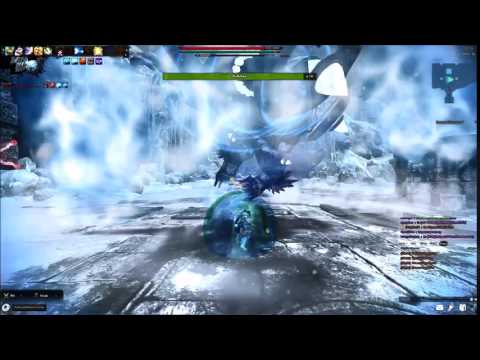
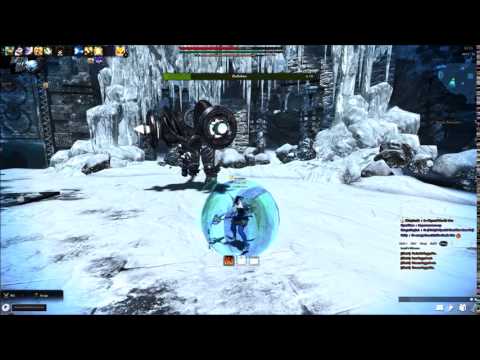
Air Cryo-gen Laser Spin (Perfect Guard Flying in Air Spirit Projectile into Slam)
Perfect Guard Jump Attacking into Ground Expanding Circle
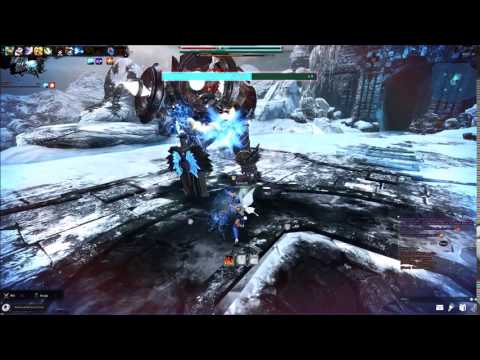
If you're inside the ring you wont get hit by the ice spikes
Perfect Guard Jump Attacking into Ground Expanding Circle V2
This version shows the ice spike in action, can be dodge/perfect guard.
Chasing and Range Attacks
All these attack Requires Perfect Guard. These attack happen if the targeted player are a disctance away from Dullahan.
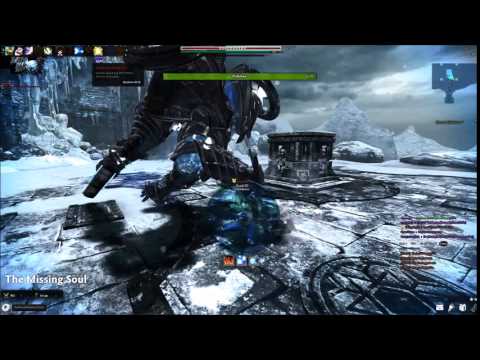
Perfect Guard Chase Lunge Attack
The tell is Dullahan reaches out one hand, takes three step, third step creates ice spikes. Then he Lunges to you with his sword. The start up for the lunge part of the attack might have it own hit box.
Perfect Guard Chase Tackle into Upper Cut
Dullanhan will get into a shoulder tackle position as the tell. The Tackle and the upper cut has thier own hit box thus making it a two hit.
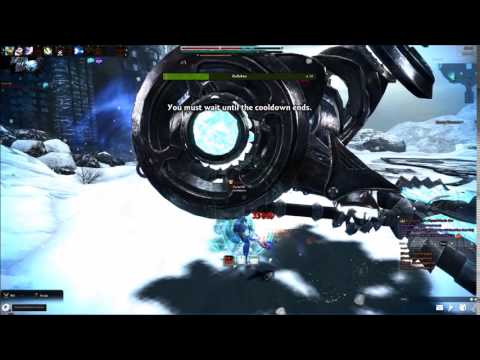
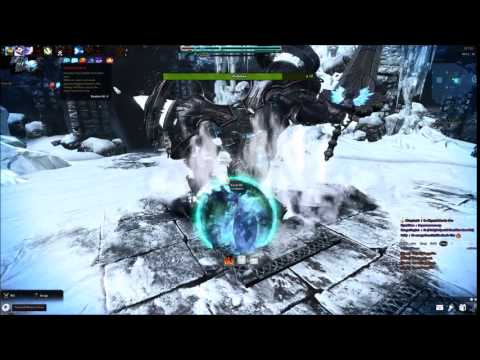
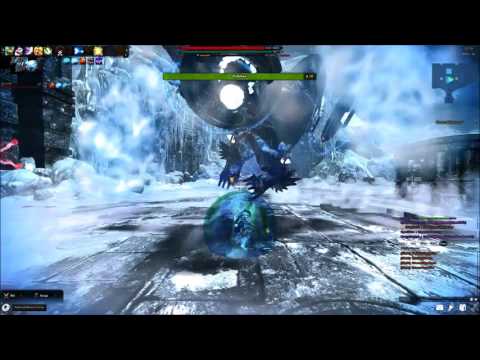
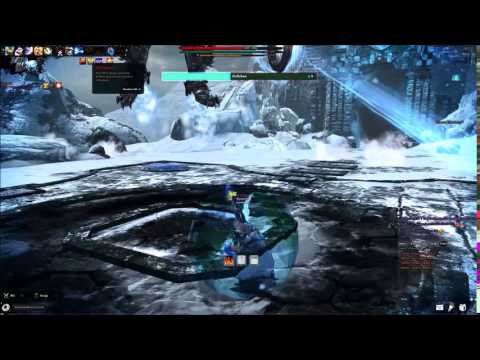
Disc Rotating Attack
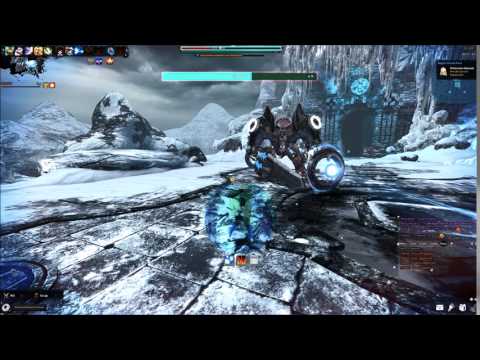
This only happens when he has his shield on. This is on of the best attack to bomb it.
The Lazer part of the attack only hits once meaning if you're a blokcing character you can block the lazer once and not have to block it again since it wont hit a second time. If the lazer hit, you'll be frozen.
The Disc and Lazer are two different hit box and even if you block the lazer the disc can still hit you.
Disc Rotating Attack With Spirits
This attack can only happen when Dullahan is out of shield. The lazer and spirit can freeze you.
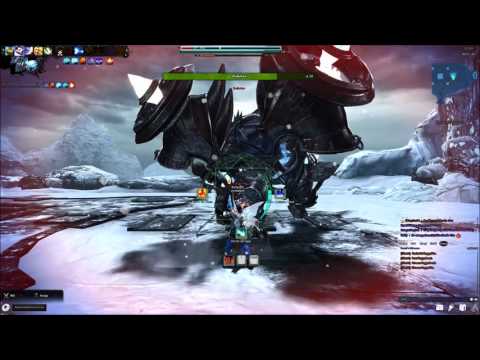
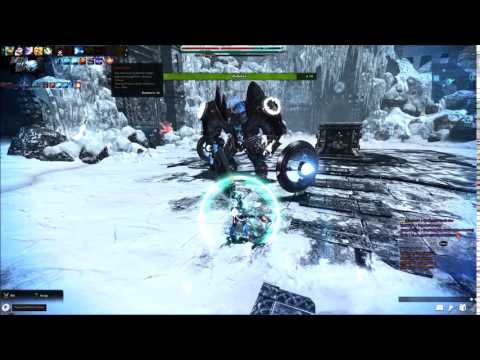
Red Attack
2 Perfect Guard Hit into Red Attack
The tell for this attack is Dullahan starting off with an ice stomp. Then it will do two slow Gigablade attack into a red attack. The red attack portion of the hit will land directly infront of Dullahan and can slightly curve to the person its targetting. Best way to avoid this attack is to go around em making the red attack hit infront of em and you're behind it.
Karok can clash his red downward slash during Shield Phase only. The shield goes down during clash animation, so take the time to damage as much as possible before resuming bombing.
Karok Clash Video
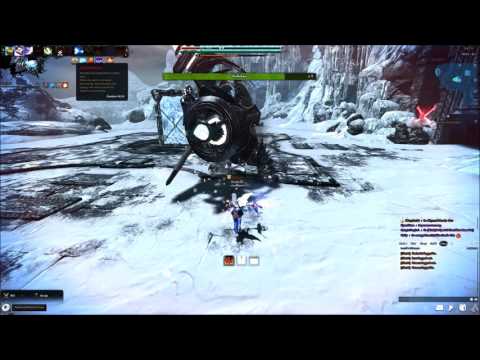
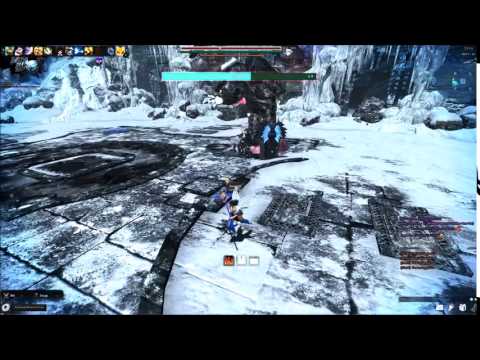
Bombing/Mechanic 1
When Dullahan hit 9 bar, it'll reviel the ice box in the middle of the stage. Dullahan can start the shield phase asap during bar 9 if it manage to land an attack on the box. Thus, in dragon explanation, you're to make sure Dullahan is not near the box. At bar 8, Dullahan will start to run to the box in the middle. Once Dullahan breaks the box, it will gain a shield which you will need to grab the bomb that is spawn in four position on the field.
The amount of time needed to bomb Dullahan is proportional to the number of player you started the run in. Example, if solo one bomb required, 4 man 4bomb, 3 man 3 bombs, 2 man but two member left after the run started 4bomb 2man+2 players leaving= 4 bombs.
A good reference point when bombing Dullahan is to aim around it upper chest area, and just aim a lil higher if you miss when doing the next bomb.
SirRFI gave a good summery on mechanic and Order5 make a correction and gave great bombing advise in the comment below or just open up the spoiler
I copy-paste following line by line before starting Dullahan:
Quick summary:
1) Try to pull him away from the middle early on
2) Stun in party order when he's going to break the thing in mid
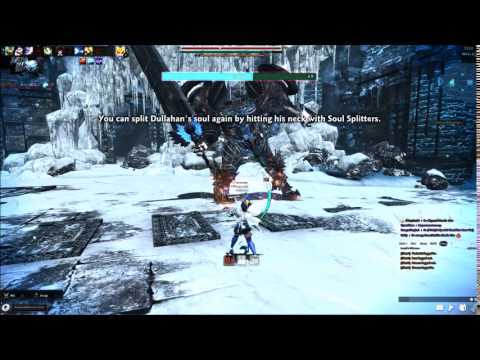
3) Aim his "collar" with bombs to separate soul
4) Someone needs to keep ghost busy - away from Dullahan
5) Get away from boss when red mark appeared on you - ghost will tp
6) At x4 he will go mid to cast blizzard - back off
7) Stay inside circle during blizzard
Seems to help
It's a little different since that now. Here are some additional specifics to add on to it:
2) Stun in party order when he's going to break the thing in mid <-- Dullahan will begin marching to the center after you hit bar 7
4) Someone needs to keep ghost busy - away from Dullahan <-- person has to attack the ghost
6) At x4 he will go mid to cast blizzard - back off <-- Dullahan will do this twice: at bars 3 and 1
Also, if you'd like to make additional bombing footage:
1) On the rotating lasers, it's safer to move inside the safe zone and aim your bomb as high as possible. It may not look like it'll hit on the red laser pointer, but it will.
2) For the more advanced secondary weapon users - when Dullahan bonds with her soul, position yourself behind her and time your bomb to explode as she turns to face you (the distance from Dullahan that I recommend is about the distance between where you obtain the bombs and the center of the arena). This is incredibly useful to master in solo mode since you only need one bomb to disable the shield. It will still useful in a party, but harder to perform because everyone will have stand in almost the same spot (since you don't know who Dullahan will aggro on to) and it'll require more bombs to disable it (same number as party members).
3) Also for more advanced users - when Dullahan performs the flying thrust attack (usually the alternative finisher to the "Perfect Guard Flying in Air Spirit Projectile into Slam" and I believe it is a red attack) immediately throw a bomb at her left shoulder after dodging. Her head positions itself there.
Successful Bombing Videos
will record Order5 Bombing tip later after the last few bit for the guide is finished.
Reference Videos


Comments
It's a little different since that now. Here are some additional specifics to add on to it:
2) Stun in party order when he's going to break the thing in mid <-- Dullahan will begin marching to the center after you hit bar 7
4) Someone needs to keep ghost busy - away from Dullahan <-- person has to attack the ghost
6) At x4 he will go mid to cast blizzard - back off <-- Dullahan will do this twice: at bars 3 and 1
Also, if you'd like to make additional bombing footage:
1) On the rotating lasers, it's safer to move inside the safe zone and aim your bomb as high as possible. It may not look like it'll hit on the red laser pointer, but it will.
2) For the more advanced secondary weapon users - when Dullahan bonds with her soul, position yourself behind her and time your bomb to explode as she turns to face you (the distance from Dullahan that I recommend is about the distance between where you obtain the bombs and the center of the arena). This is incredibly useful to master in solo mode since you only need one bomb to disable the shield. It will still useful in a party, but harder to perform because everyone will have stand in almost the same spot (since you don't know who Dullahan will aggro on to) and it'll require more bombs to disable it (same number as party members).
3) Also for more advanced users - when Dullahan performs the flying thrust attack (usually the alternative finisher to the "Perfect Guard Flying in Air Spirit Projectile into Slam" and I believe it is a red attack) immediately throw a bomb at her left shoulder after dodging. Her head positions itself there.
I haven't started the explanation part of the guide on how each attack work and tip like the one you said now.
"3) Also for more advanced users - when Dullahan performs the flying thrust attack (usually the alternative finisher to the "Perfect Guard Flying in Air Spirit Projectile into Slam" and I believe it is a red attack) immediately throw a bomb at her left shoulder after dodging. Her head positions itself there."
Also I don't think that attack is a red attack but, I'll need to double check to confirm.
Also if anyone have better name for those attack, I will gladly take those sugestions and edit accordingly.
When Dully does the two 'slow' revolving icicle lasers, if you block one laser such as with amber, any other lasers will not hit you.
Use this to get in front of Dully, block laser, and then free to aim without worry of being hit since Dully will be still executing move.
Do note the actual spinners where the laser originates can hit you, and hurt :<
beat me to it, derp
Attack names:
Ground Cryo-gen Laser Spin
Air Cryo-gen Laser Spin
Hover Mode Swipe
Gigablade Two-Hit Combo, with potential Third Red Attack
Backwards Leap (This can hit you)
Frozen Oasis into Frozen Ring
Frozen Oasis into Deadly Ring
Arm Reach into Stomp
Dismantling Lunge
To be more clear - constant attacking isn't required , as damage cannot be dealt. It's all to take the ghost's attention.
Indeed. He will use powerful attack, ending with red wave like Eochaid (ebola/yoohad) does when he is about to jump. As of now unsure if stuns can be used to advantage.
The ghosts seemingly are considered as projectiles during the blizzard, since I can reflect them.
A couple of corrections to my advice, and a good example of what I was getting at - this Hurk could've done it at 3:52. He could've thrown it sooner if he aimed at the shoulder. https://youtube.com/watch?v=RI6j9rW-uvo
Also, I guess what I said about bombing from behind Dullahan really doesn't matter if you get good enough because Deuce here does it successfully from the front almost every time (best to go to 5:58 of this video). https://youtube.com/watch?v=PDwT83DGIKI