[NEW MERCENARIES] Please note that all new forum users have to be approved before posting. This process can take up to 24 hours, and we appreciate your patience.


Eira is a very flexible and mobile character who can deal insane amounts of burst damage at close range or continue dealing damage at a safer and mid distance if the situation calls for it. This guide will cover all her important attacks and skills and provide an explanation to which ones you should be using and when.
All damage numbers listed below are calculated assuming 3000 Additional Damage and rounded to the nearest 500 for readability. Average damage values are calculated assuming a 50% Critical Chance.

Bullet Storm Combo
The Bullet Storm Combo is Eira’s highest dps smashes. On a single target, all three smashes conduct a total of nine hits. The range also isn’t very high, you must be close to the target to land every hit.
 Bullet Storm: 2 hit for ~5k (10k Crit) each
 Bullet Rain: 3 hits for ~4.5k (9k Crit) each
 Bullet Hail: 4 hits for ~4k (8k Crit) each
All nine hits in total equates to an average of ~59k damage and generates you 52 mana. Landing every hit when using Bullet Storm out of Portal Leap is a net gain of 2 mana.
Warp Shot Combo
Warp Shot is the weakest of your three main smashes dealing an average of ~30k. The only advantage of Warp Shot is that it covers a lot of ground towards your target making it decent for dealing damage while chasing.
 Warp Shot: ~9k (18k Crit)
 Warp Blast: ~11k (22k Crit)
Disruptor Shot Combo
Disruptor Shot is a good alternative to Bullet Storm. These smashes have significantly more range and completes 20% faster than Bullet Storm making it better to use for fitting in between long boss combos and keeping distance. Landing both hits will generate you 41 mana, which is a net gain of 1 mana if used immediately with Portal Leap.
 Disruptor Shot: ~12k (24k Crit)
 Disruptor Blast: ~16k (32k Crit)
 Inverse Shot
Inverse Shot can be used after any smash or active skill by pressing the kick button. Typically this skill is too weak to fit into a normal rotation, but it has its uses as a finisher for when there isn't time to perform any other move after a different smash attack. It can also be used as a method to get into Mana Munitions after performing a smash, useful if you need to gain some distance to make it easier for you to aim Entropic Rounds.
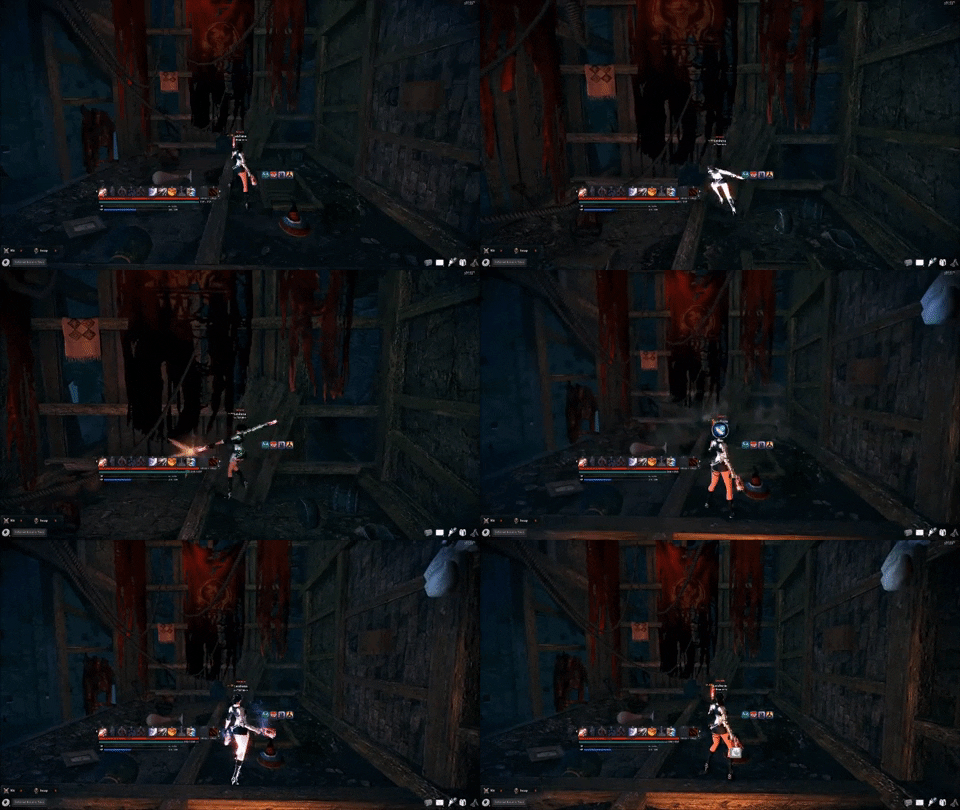

 Portal Leap
Portal Leap is the core of Eira’s gameplay. This skill has iframes and lets you skip into each of your important smashes quickly. Tab (default key) to enter portal and pressing Tab again lets you exit it early. Staying in portal for the full duration consumes 100 mana, exiting the portal with Tab as soon as you enter consumes 40 mana, and using Bullet Storm to exit consumes 50 mana. Portal Leap also consumes 0 stamina and can be used even while in tired animation.
 Bullet Storm = Portal Leap -> Right Click
 Warp Shot = Portal Leap -> Exit -> Left Click
 Disruptor Shot = Portal Leap -> Exit -> Right Click
You should use Portal Leap as much as possible to avoid left clicking and to quickly skip into your smash attacks.
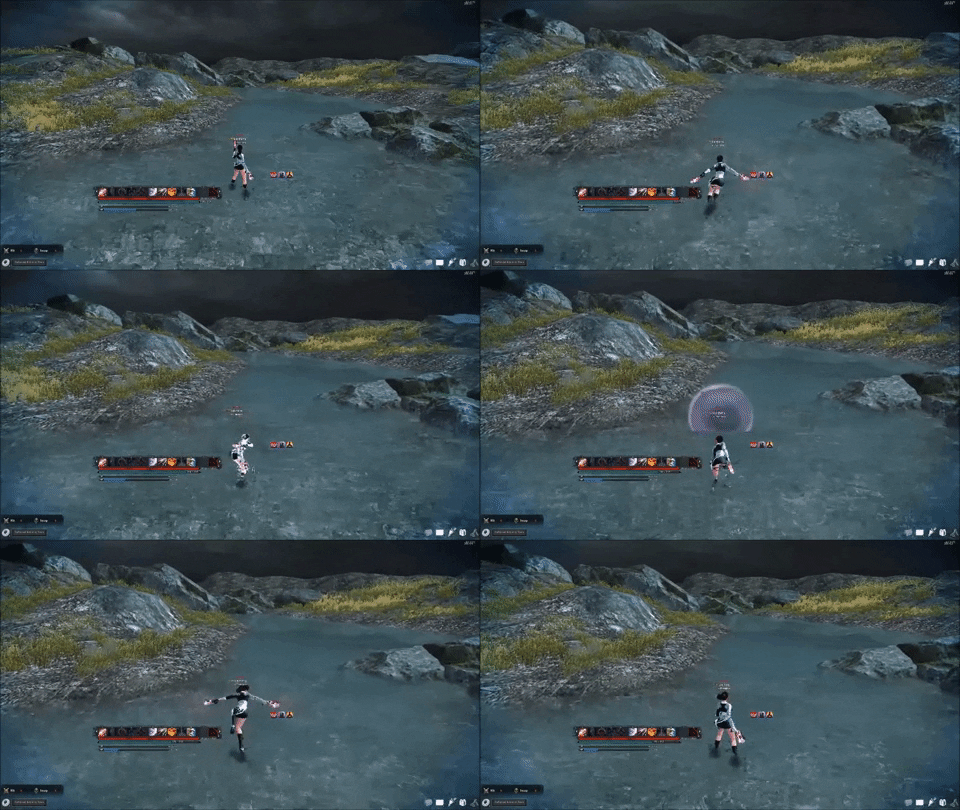
Important Information:
You can use your artifact while inside a portal. This means you can activate your artifact without dropping your rotation when it comes off cool down.
Exiting Portal Leap early with Tab grants you true Iframes. A very important tool to have for Braha or dealing with Dullahan’s red wave spam during the last three bars. However your character must be fully inside the portal before exiting and it will take some practice to properly time.
 Weave
Weave
Weave is your typical dodge. At Rank A, pressing Right Click after weaving will conduct a quick smash. I suggest leaving Weave at rank B to avoid using this extra smash. The difference between rank A and B is only .04 seconds of iframes and one stamina, however, being at rank B lets you go immediately into Mana Munitions after weaving.

 Distortion Shield
Distortion Shield is a block that consumes 30 mana upon use, and successfully blocking will return 15 mana per attack. Distortion Shield consumes 0 stamina making it a better option than weave if you aren’t low on mana. Another use for Distortion Shield is to cancel the ending animation of your smashes and giving you faster access to Mana Munitions.

 Entropic Rounds
Marks one or multiple targets (When Entropic Rounds land, there is a small AOE which can cause it to mark multiple enemies) and causes your attacks to be enhanced and deal 20% increased damage against the targets for 20 seconds.
Cooldown: 1 minute
 Gravity Rounds
Gravity Rounds cause any Boss standing inside it to take damage every .6 seconds for 8 ticks. Each tick of damage deals ~10k (20k Crit) points of damage and restores 20 stamina.
At the start of the raid, Gravity Rounds should be used before Entropic Rounds as to not waste Entropic buff duration on casting Gravity Rounds.
Cooldown: 45 seconds

 Flux Rounds
Fires six hits shots directly in-front of you with a very small range. Each hit of Flux Rounds generates you 6 SP and 29 MP. Flux Round’s damage is quite low, thus there is no need to use Flux Rounds as much as possible but instead only use it when your mana is low. Keep in mind, it costs 30 mana to cast so if your mana falls too low, you won’t be able to fall back on Flux Rounds as backup.
Cooldown: 30 seconds

 Phase Burst
Phase Burst fires 9 spears directly in front of you. Each hit deals ~8.5k and cannot crit which means landing all 9 spears will deal ~76.5k making it slightly stronger than a full Bullet Storm combo. The best time to use Phase Burst is whenever you can land most if not every hit or right after finishing a Bullet Storm combo and there is not enough time to do another.
SP Cost: 250
 Chaos Warp
Chaos Warp works similarly to Portal Leap except Chaos Warp consumes SP instead of MP and the distance and duration of the warp cannot be controlled. In the same way, Chaos Warp lets you skip into your important smashes when exiting.
 Bullet Storm = Chaos Warp -> Right Click
 Warp Shot = Chaos Warp -> Exit -> Left Click
 Disruptor Shot = Chaos Warp -> Exit -> Right Click
Chaos Warp should be used over Portal Leap in chasing situations, usually when the boss is too far away to for Portal Leap to be mana efficient or when it’d take too long to reach the boss without Chaos Warp.
SP Cost: 200
Important Information:
Chaos Warp has true iframes throughout the entire animation, this means it can be used to dodge or go through red attacks. Notable attacks to use for include Neamhain’s red spear, Balor’s fire wall, and Agares’ red wave.
Chaos Warp can also cancel smashes or actives mid animation making it really useful as a panic escape button or to cancel long animation endings.

 Mana Phase
Self buff that lasts for 20 seconds. Generates a total of 120 stamina and 297 mana over the buff duration. Mana Phase is very important for resource management, I suggest using it whenever possible.
SP Cost: 150
 Infinity Shot
Infinity Shot hits 7 times for ~6.5k (13k Crit) each, and one final hit for ~14k (28k Crit) and returns 19 mana. This means it deals an average of ~89k making it weaker than two rounds of your Bullet Storm combo.
Infinity Shot has the upside of consuming less stamina and mana. The best times to use it is if you don’t have the time to fit in two rounds of Bullet Storm, if you can’t get close to the boss, or on multiple targets.
SP Cost: 500
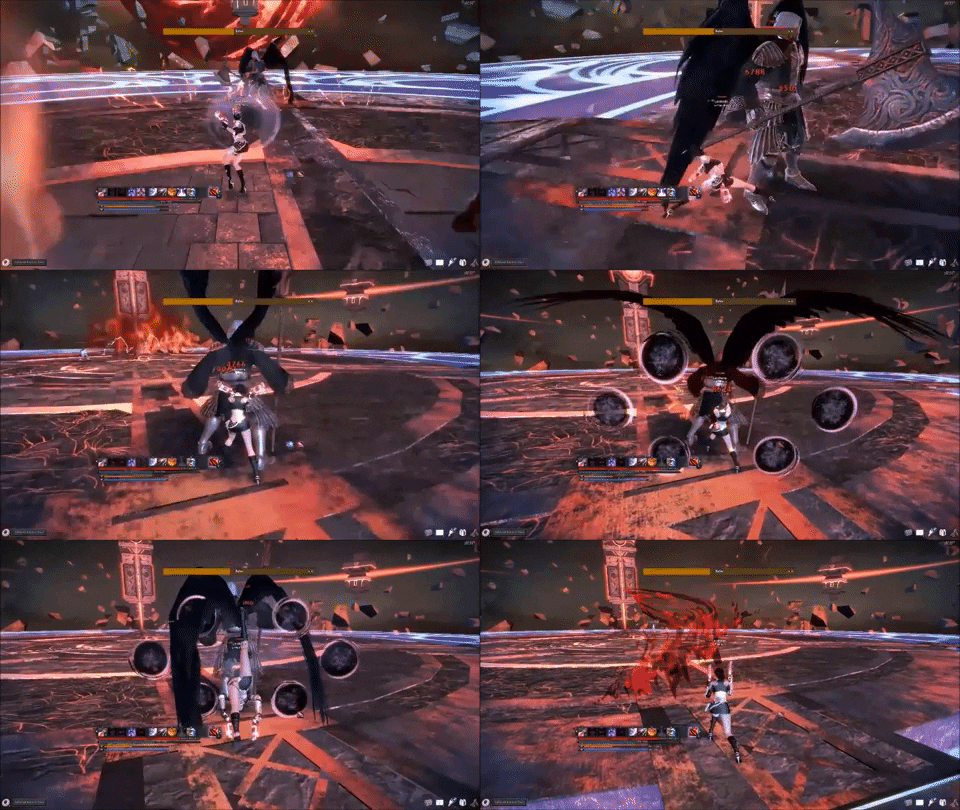
In the following example, after Balor walls there is enough time to do two full Bullet Storm combos and an inverse shot but not enough time to do three, thus Infinity Shot should be used after the first spin.
 Quantum Ruin
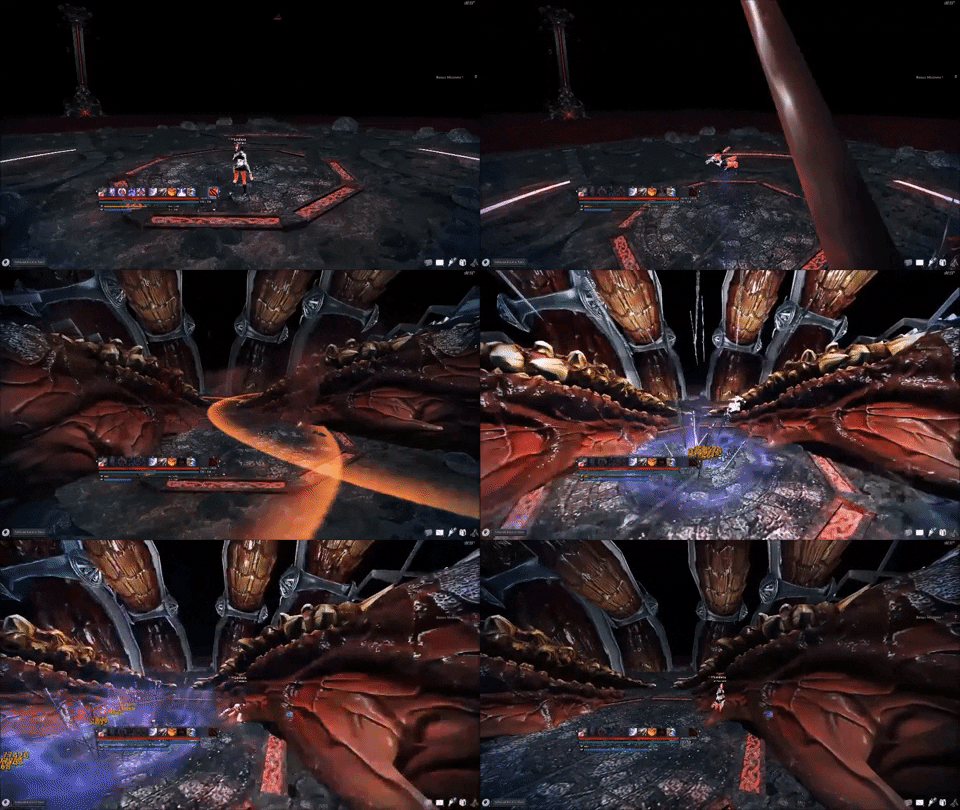
Quantum Ruin hits 10 times for ~6.5k (13k Crit) each, and one final hit for ~16k (32k Crit) giving it an average damage of ~121.5k. Landing every hit also generates 275 mana, which gives you two good reasons why it’s important not to miss this skill.
Despite always having yellow numbers, it is still possible to enhance Quantum Ruin’s damage further with Entropic Rounds. You can also use your artifact while inside the portal for this skill too.
SP Cost: 750

 Artifact
Werewolf Paw should be your Artifact of choice. Eira has a high enough SP generation to keep her active skills on cooldown throughout the fight making Cat Statue unnecessary.
 Skill Awakening
Eira doesn't have much freedom when it comes to Skill Awakening. Your only option for almost all of your skills is Damage or Knockdown Rate in which Damage is the clear choice to pick here.
Chaos Warp is the only exception in which you can pick Reduced SP or Reduced Cooldown. For this skill, Reduced SP is the better choice due to Chaos Warp being a situation move giving you no reason to need to use it off of cooldown every time.
Author: Kotori
Server: NA


 Bullet Storm: 2 hit for ~5k (10k Crit) each
 Bullet Rain: 3 hits for ~4.5k (9k Crit) each
 Bullet Hail: 4 hits for ~4k (8k Crit) each
 Warp Shot: ~9k (18k Crit)
 Warp Blast: ~11k (22k Crit)
 Disruptor Shot: ~12k (24k Crit)
 Disruptor Blast: ~16k (32k Crit)
 Inverse Shot

 Portal Leap
 Bullet Storm = Portal Leap -> Right Click
 Warp Shot = Portal Leap -> Exit -> Left Click
 Disruptor Shot = Portal Leap -> Exit -> Right Click
 Weave
Weave
 Distortion Shield
 Entropic Rounds
 Gravity Rounds
 Flux Rounds
 Phase Burst
 Chaos Warp
 Bullet Storm = Chaos Warp -> Right Click
 Warp Shot = Chaos Warp -> Exit -> Left Click
 Disruptor Shot = Chaos Warp -> Exit -> Right Click
 Mana Phase
 Infinity Shot
 Quantum Ruin

 Artifact
 Skill Awakening
Comments